

Hatchback collision repair requires careful damage assessment and advanced techniques like laser measurement and CAD for precise body work and paint matching. Beginners should focus on proper preparation, using suitable tools and parts, and seeking professional help for complex repairs to avoid subpar results and compromising vehicle safety.
Are you a complete beginner looking to tackle hatchback collision repair? This comprehensive guide is your starting point. We’ll walk you through everything from assessing damage, understanding the repair process, and avoiding common mistakes. Whether you’re enhancing skills or diving into this for the first time, these insights will empower you to confidently navigate hatchback collision repair. Get ready to transform a challenge into a successful project.
- Understanding Hatchback Collision Damage Assessment
- Step-by-Step Repair Process for Beginners
- Common Mistakes to Avoid During Hatchback Collision Repair
Understanding Hatchback Collision Damage Assessment

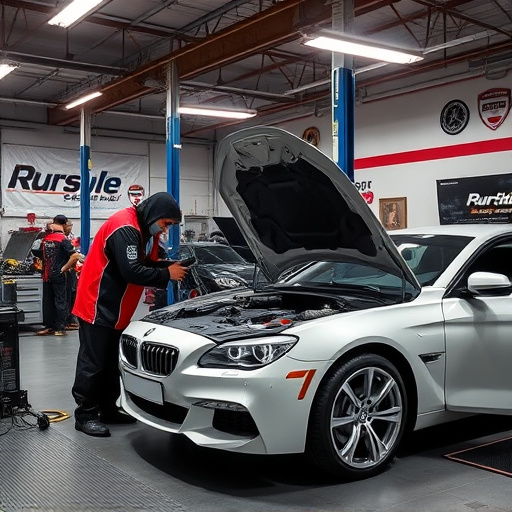
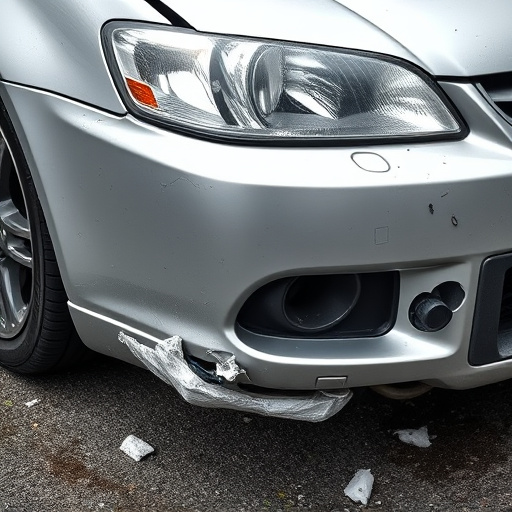
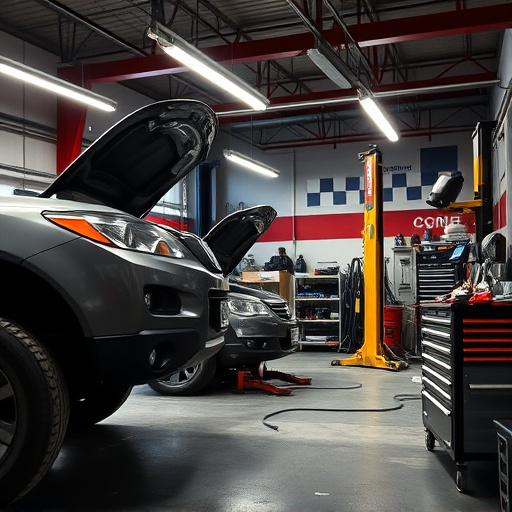
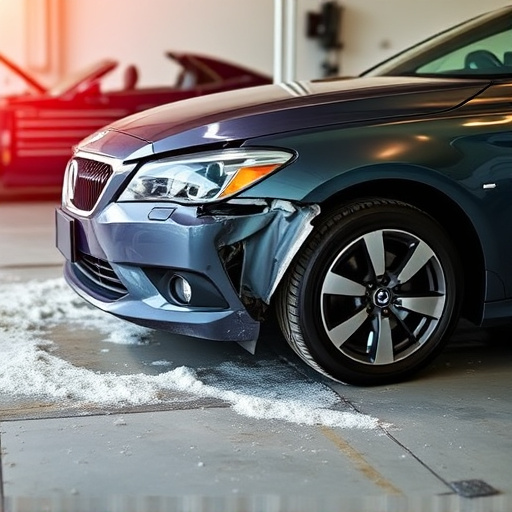
When it comes to hatchback collision repair, assessing the damage is the first crucial step. Unlike sedans or SUVs, hatchbacks have unique designs with sloping roofs and integrated spoilers, which can make damage assessment more complex. Experts in hatchback collision repair consider several factors, including crumple zones, panel alignment, and the integrity of structural components. They inspect each area for dents, scratches, cracks, and breaks, using tools like impact hammers and precision measuring equipment to gauge the extent of damage.
Understanding how a vehicle’s structure is designed to absorb impact is key to effective hatchback collision repair. Knowledgeable technicians recognize that proper alignment and replacement of damaged panels are essential for both safety and aesthetics. They employ advanced techniques, such as laser measurement and computer-aided design (CAD), to ensure precise auto body work and seamless vehicle paint repair, ultimately restoring your hatchback to its pre-accident condition.
Step-by-Step Repair Process for Beginners

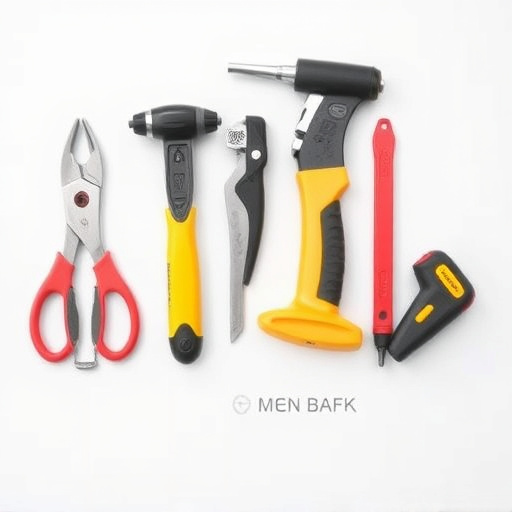
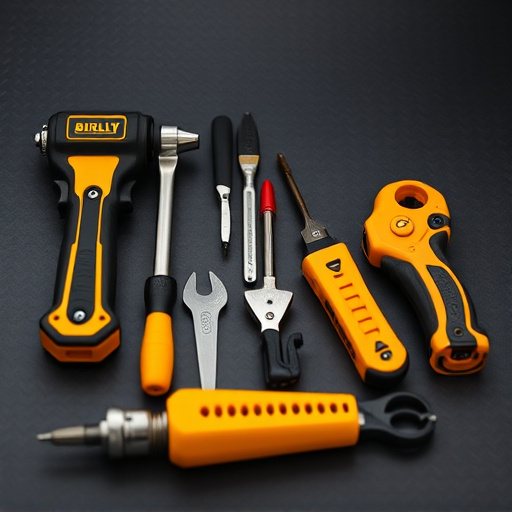
Starting a hatchback collision repair is an intimidating task for beginners, but with the right guidance, it can be accomplished successfully. The process involves several meticulous steps to ensure your vehicle’s original quality and safety standards are met. Begin by thoroughly inspecting the damaged area, assessing the extent of the dent or crack, and gathering all necessary tools and materials, including a putty knife, auto body filler, sandpaper, primer, paint, and clear coat.
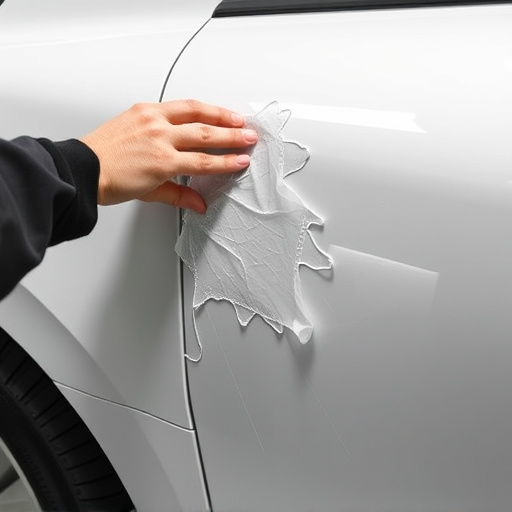
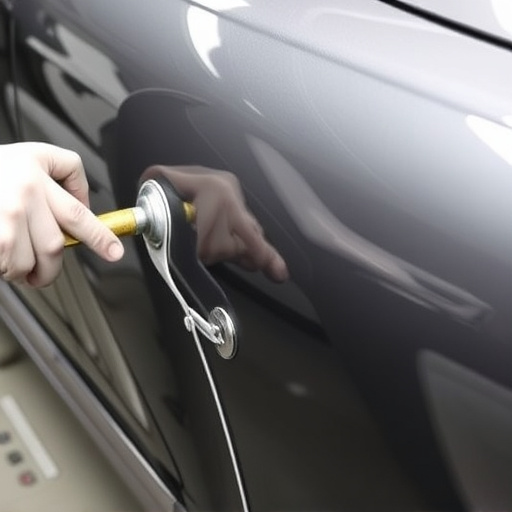
Next, prepare the surface by removing any debris and using fine-grit sandpaper to create a smooth base. After achieving a clean, even canvas, apply an even layer of primer, allowing it to dry completely. Then, use the putty knife to fill in any remaining imperfections with auto body filler, smoothing the surface as you go. Once the filler is dry, sand again to ensure a seamless finish before applying paint and clear coat, matching your vehicle’s original color precisely. Finally, allow ample time for each layer to cure properly before adding the finishing touches, ensuring your hatchback collision repair is both functional and aesthetically pleasing.
Common Mistakes to Avoid During Hatchback Collision Repair

When embarking on hatchback collision repair, beginners often fall into several pitfalls that can compromise the quality of the work. A common mistake is attempting to fix structural damage without proper training or tools; this can lead to unsafe vehicles and potential further damage during the repair process. It’s crucial to leave complex auto frame repairs to professionals in a trusted collision repair center, as misaligned panels or incorrect body panel replacement can significantly affect the vehicle’s performance and safety features.
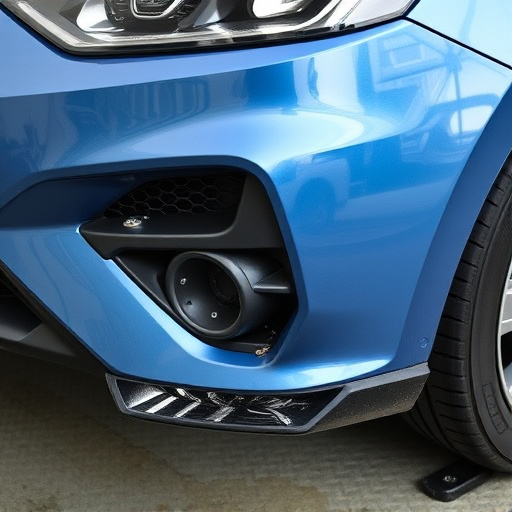
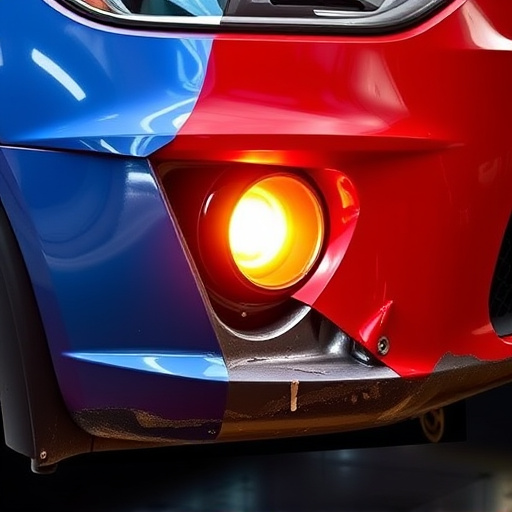
Another blunder to steer clear of is neglecting pre-repair preparation. Skipping essential steps like assessing all damage, gathering the right parts, and cleaning the affected areas can result in subpar repairs and future issues. Always ensure a thorough inspection before starting any car body repair work. Additionally, many beginners underestimate the importance of proper paint matching during hatchback collision repair, which is vital for a seamless finish. Using incorrect techniques or low-quality paints can make the repaired area look distinct from the rest of the vehicle, making it readily apparent that a collision occurred.
For those new to hatchback collision repair, this guide has provided a comprehensive overview of the process, from damage assessment to common mistakes to avoid. By understanding the basics and following a structured approach, beginners can tackle hatchback collision repairs with confidence. Remember, proper training and safety precautions are essential when handling any vehicle repair. With dedication and practice, you’ll be well on your way to becoming an expert in hatchback collision repair.